

Target Audience
This article is a two-part series for anyone with experience building web servers using JavaScript(NodeJS), but who wants to learn how to build an efficient authentication system for their API.
Learning Objectives
After reading this article series, you will know how to do the following:
Understand how JWT (JSON Web Token) works and how to use them.
Be able to build an efficient authentication system for your applications.
Implement protected APIs, that are only accessible by verified users.
How to send emails from our application using NodeJS.
Know how to set up a modern NodeJS web server with TypeScript.
Prerequisites
To follow along with this tutorial, you will need:
You need to install Node.js locally, which you can do by following How to Install Node.js and Create a Local Development Environment.
A working knowledge of JavaScript / TypeScript.
The basics of MongoDB.
A good understanding of building APIs with Node.js & Express.
Authentication & Authorization
These words are often used interchangeably but represent fundamentally different functions. In simple terms,
Authentication is the process of verifying who a user is.
Authorization is the process of verifying what they (authenticated users) have access to.
What are JSON Web Tokens?
JSON Web Token (JWT) is an RFC 7519 open industry-standard method for secure communication between two parties.
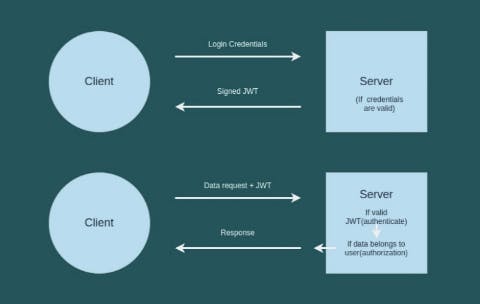
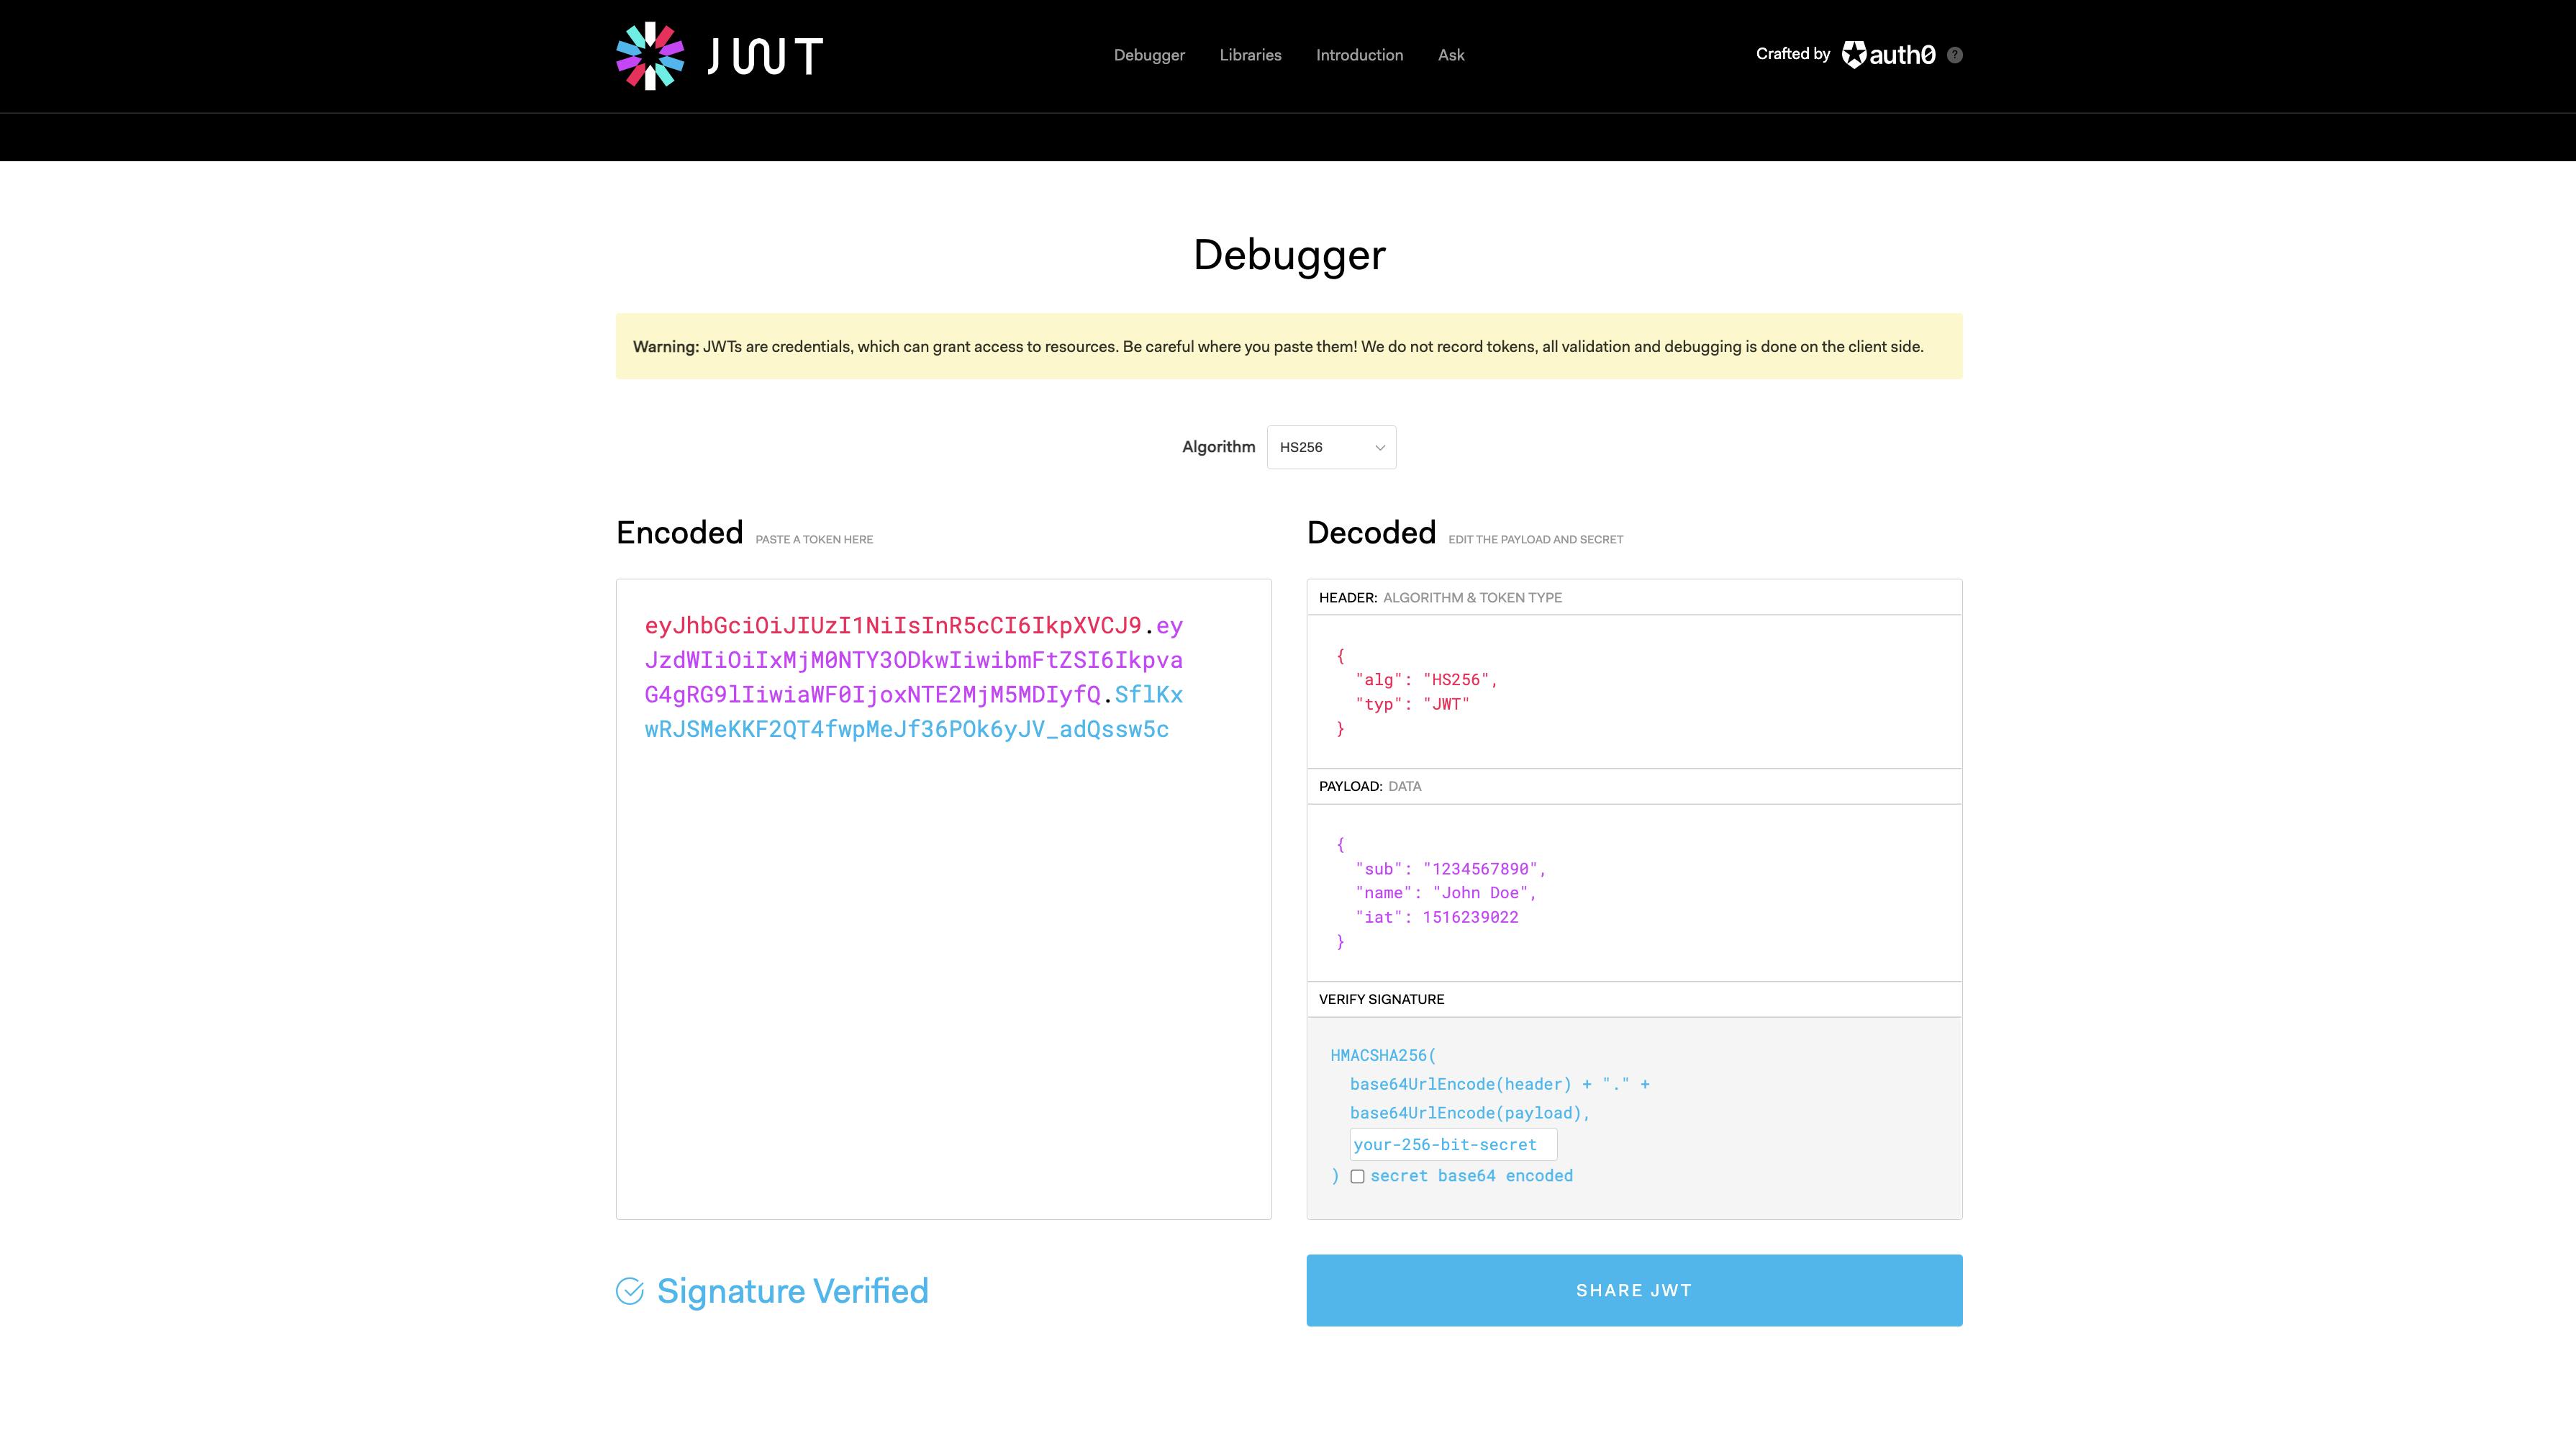
JWT communication is secure, as it only involves the parties involved because tokens are signed using a hashing algorithm, and a 'secret-key' known only to the communicating parties involved. If you'd like to learn more about JWT, check out this tutorial. You can also visit jwt.io and play around with their debugger.
Step 1 — Project Setup
- Step 1.1: Create a directory and initialize npm by typing the following command:
mkdir jwt-auth-project
cd jwt-auth-project
npm init -y
- Step 1.2: Install Project Dependencies
npm install typescript ts-node-dev express @types/express jsonwebtoken @types/jsonwebtoken joi mongoose dotenv bcryptjs @types/bcryptjs nodemailer @types/nodemailer
After installing these dependencies, let's generate a ts config file.
tsc --init
- Step 1.3: Let's create project directories and files.
mkdir src
cd src
mkdir config controllers helpers middlewares models routes

touch index.ts config/nodemailer.ts controllers/auth.controller.ts controllers/user.controller.ts helpers/request.validator.ts middlewares/verify.token.ts models/user.ts routes/auth.route.ts routes/user.route.ts .env .gitignore
Our project structure should look as below
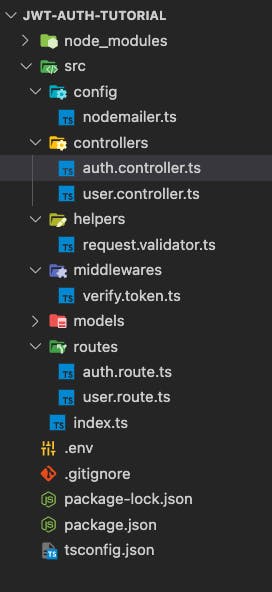
config
- nodemailer.ts : configure nodemailer to send emails to users
controllers
- auth.controller.ts : Handles all authentication logic (signup, signing, email verification, forgot password) actions.
helpers
- request.validator.ts : Handles data validation, to make sure that only fields as required by the server are sent.
middleware
- verify.token.ts : Handles token verification across the application.
models
- user.ts : User schema.
routes:
auth.route.ts : Handles routing for all API controllers in
auth.controller.tsindex.ts : import and initialize necessary modules and routes, connect MongoDB, listen for connections.
.env : Handles environment variables / secret keys across the application.
Step 1.4: Let's set up our index.ts file.
In our jwt-auth-tutorial/src/index.ts
import express from 'express';
import 'dotenv/config';
import mongoose from 'mongoose';

const app = express();
const port = process.env.PORT || 8080;
app.use(express.json());

// Start server
const startServer = async () => {
  try {
    await mongoose.connect(`${process.env.MONGO_URI}`);
    app.listen(port, () => {
      console.log(`Server listening on port: ${port}`);
    })
  } catch (err) {
    process.exit(1);
  }
};

startServer();
So in our jwt-auth-tutorial/src/index.ts file, we have connected to our MongoDB before starting our application. So by the time our server starts running, it's already connected to the DB and ready to receive your requests.
If you have issues setting up MongoDB, check this out.
Our index.ts file also has some variables from the .env file
PORT=8080
MONGO_URI=// Your mongoDB URI
EMAIL_FROM=xxxxxxxxxxxxx
EMAIL_PASS=xxxxxxxxxxxxx
TOKEN_KEY=xxxxxxxxxxxxx
Now to start our application, let's open our package.json file and include a start script with the ts-node-dev dependency package which we installed in section 1.2
"scripts": {
    "start": "ts-node-dev src/index.ts"
  }
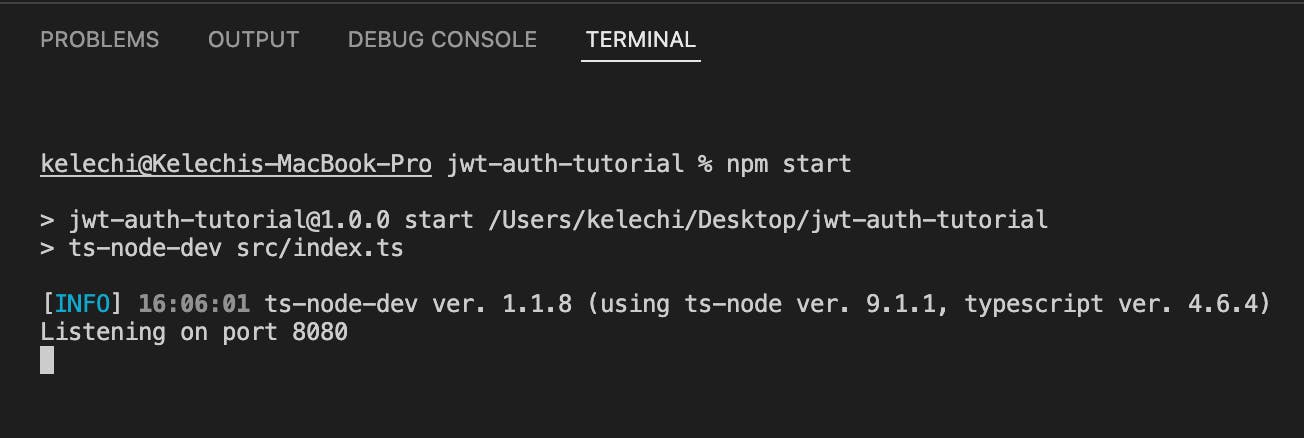
Now execute the command npm run start. You'll see the output below similar to yours.

Step 2 — Define the User model, setup Nodemailer
Let's introduce static types in our schema design, as to make sure that only the fields as described in our interface are used.
- Step 2.1 : In
src/models/user.ts
import mongoose from 'mongoose';

// An interface that describes the properties required to create a new User
interface UserAttrs {
  email: string;
  password: string;
}

// An interface that describes the properties that a User Model has
interface UserModel extends mongoose.Model<UserDoc> {
  build(attrs: UserAttrs): UserDoc;
}

// An interface that describes the properties that a User Document has
interface UserDoc extends mongoose.Document {
  email: string;
  password: string;
}

const userSchema = new mongoose.Schema({
  email: {
    type: String
  },
  password: {
    type: String,
    required: true
  }
});

userSchema.statics.build = (attrs: UserAttrs) => {
  return new User(attrs);
};

const User = mongoose.model<UserDoc, UserModel>('User', userSchema);

export { User };
Alright, let's set up our email transporter, and also our API server request validation.
- Step 2.2 : In
src/config/nodemailer.ts
import nodemailer from 'nodemailer';
import 'dotenv/config';

const mailTransporter = nodemailer.createTransport({
  service: 'hotmail',
  auth: {
    user: `${process.env.EMAIL_FROM}`,
    pass: `${process.env.PASS}`
  }
});

export { mailTransporter };
In the above file we've set up our email transporter, so we can send an email to users on our application. You can check out the Nodemailer documentation or this tutorial.
- Step 2.3 : In
src/helpers/request.validator.ts
import Joi from "joi";

const userCredentialRequestValidator = Joi.object({
  email: Joi.string().min(6).required().email(),
  password: Joi.string().min(6).required()
});

const tokenRequestValidator = Joi.object({
  token: Joi.string().min(6).required()
});

const forgotPasswordRequestValidator = Joi.object({
  email: Joi.string().min(6).required().email()
});

const passwordResetRequestValidator = Joi.object({
  password1: Joi.string().min(6).required(),
  password2: Joi.string().min(6).required()
});

export {
  userCredentialRequestValidator,
  tokenRequestValidator,
  forgotPasswordRequestValidator,
  passwordResetRequestValidator
};
In the file shown above we've described the exact fields our various API endpoints expect to receive from our client. This helps ensure that the client sends only the required field(s). See Joi documentation 📚
Step 3 — Implementation of authentication APIs.
These are the Authentication APIs we are going to build:
| METHOD | URL | ACTION |
| POST | /auth/signup | Signup a new acount |
| POST | /auth/verification | Verify a new account |
| POST | /auth/login | Login verified account |
| GET | /user/info | Get user private data |
| PUT | /auth/forgot-password | Forgot Password |
| PUT | /auth/reset-password/:token | Verify password reset token |
Now let's implement our API endpoint to signup a new user.
- Step 3.1 : In
src/controllers/auth.controller.ts
import { Request, Response } from 'express';
import jwt from 'jsonwebtoken';
import { User } from '../models/user';
import 'dotenv/config';
import bcrypt from 'bcryptjs';
import { mailTransporter } from '../config/nodemailer';
import {
  userCredentialRequestValidator,
  tokenRequestValidator,
  forgotPasswordRequestValidator,
  passwordResetRequestValidator
} from '../helpers/request.validator';

/**
 * API endpoint to signup a user.
 * @returns response with success of false if user email already exists, or true if verification link is sent.
*/
const userSignupController = async (req: Request, res: Response) => {
  const { error } = userCredentialRequestValidator.validate(req.body);
  if (error) {
    return res.status(400).json({
      success: false,
      message: error.details[0].message
    });
  }

  const { email, password } = req.body;
  const user = await User.findOne({ email });

  // Check if user is already in DB
  if (user) {
    return res.status(200).json({
      success: false,
      message: 'Email already in use.'
    });
  }

  // Generate Token
  const token = jwt.sign({ email, password }, `${process.env.TOKEN_KEY}`, { expiresIn: '5m' });

  const mailOptions = {
    from: `${process.env.EMAIL_FROM}`,
    to: `${email}`,
    subject: 'Account activation link.',
    html: `
      <p>Please copy and paste this link to postman.<b>( Activate account )</b></p>
      <a>${token}</a>
    `
  };

  // Send mail with defined transport object
  mailTransporter.sendMail(mailOptions, (error: any) => {
    if (error) {
      return res.status(500).json({
        success: false,
        message: `Something went wrong. Pls try again!`
      });
    }
    res.status(200).json({
      success: true,
      message: `Verification link sent to ${email}`
    });
  });
};

export {
  userSignupController
};
- Step 3.2 : In
src/routes/auth.route.ts
import express from 'express';
const router = express.Router();

import {
  userSignupController
} from '../controllers/auth.controller';

router.post('/signup', userSignupController);

module.exports = router;
Now we have our API to signup a user, let's quickly wire it all up in our application.
- Step 3.3 : Update our
src/index.tsfile with theauthRouteras shown below
import express from 'express';
import 'dotenv/config';
import mongoose from 'mongoose';

const app = express();
const port = process.env.PORT || 8080;
app.use(express.json());

// Routers
const authRouter = require('./routes/auth.route');
const userRouter = require('./routes/user.route');

app.use('/auth', authRouter);

// Start server
const startServer = async () => {
  try {
    await mongoose.connect(`${process.env.MONGO_URI}`);
    app.listen(port, () => {
      console.log(`Server listening on port: ${port}`);
    })
  } catch (err) {
    process.exit(1);
  }
};

startServer();
We'll be using Postman to test our APIs across the application.
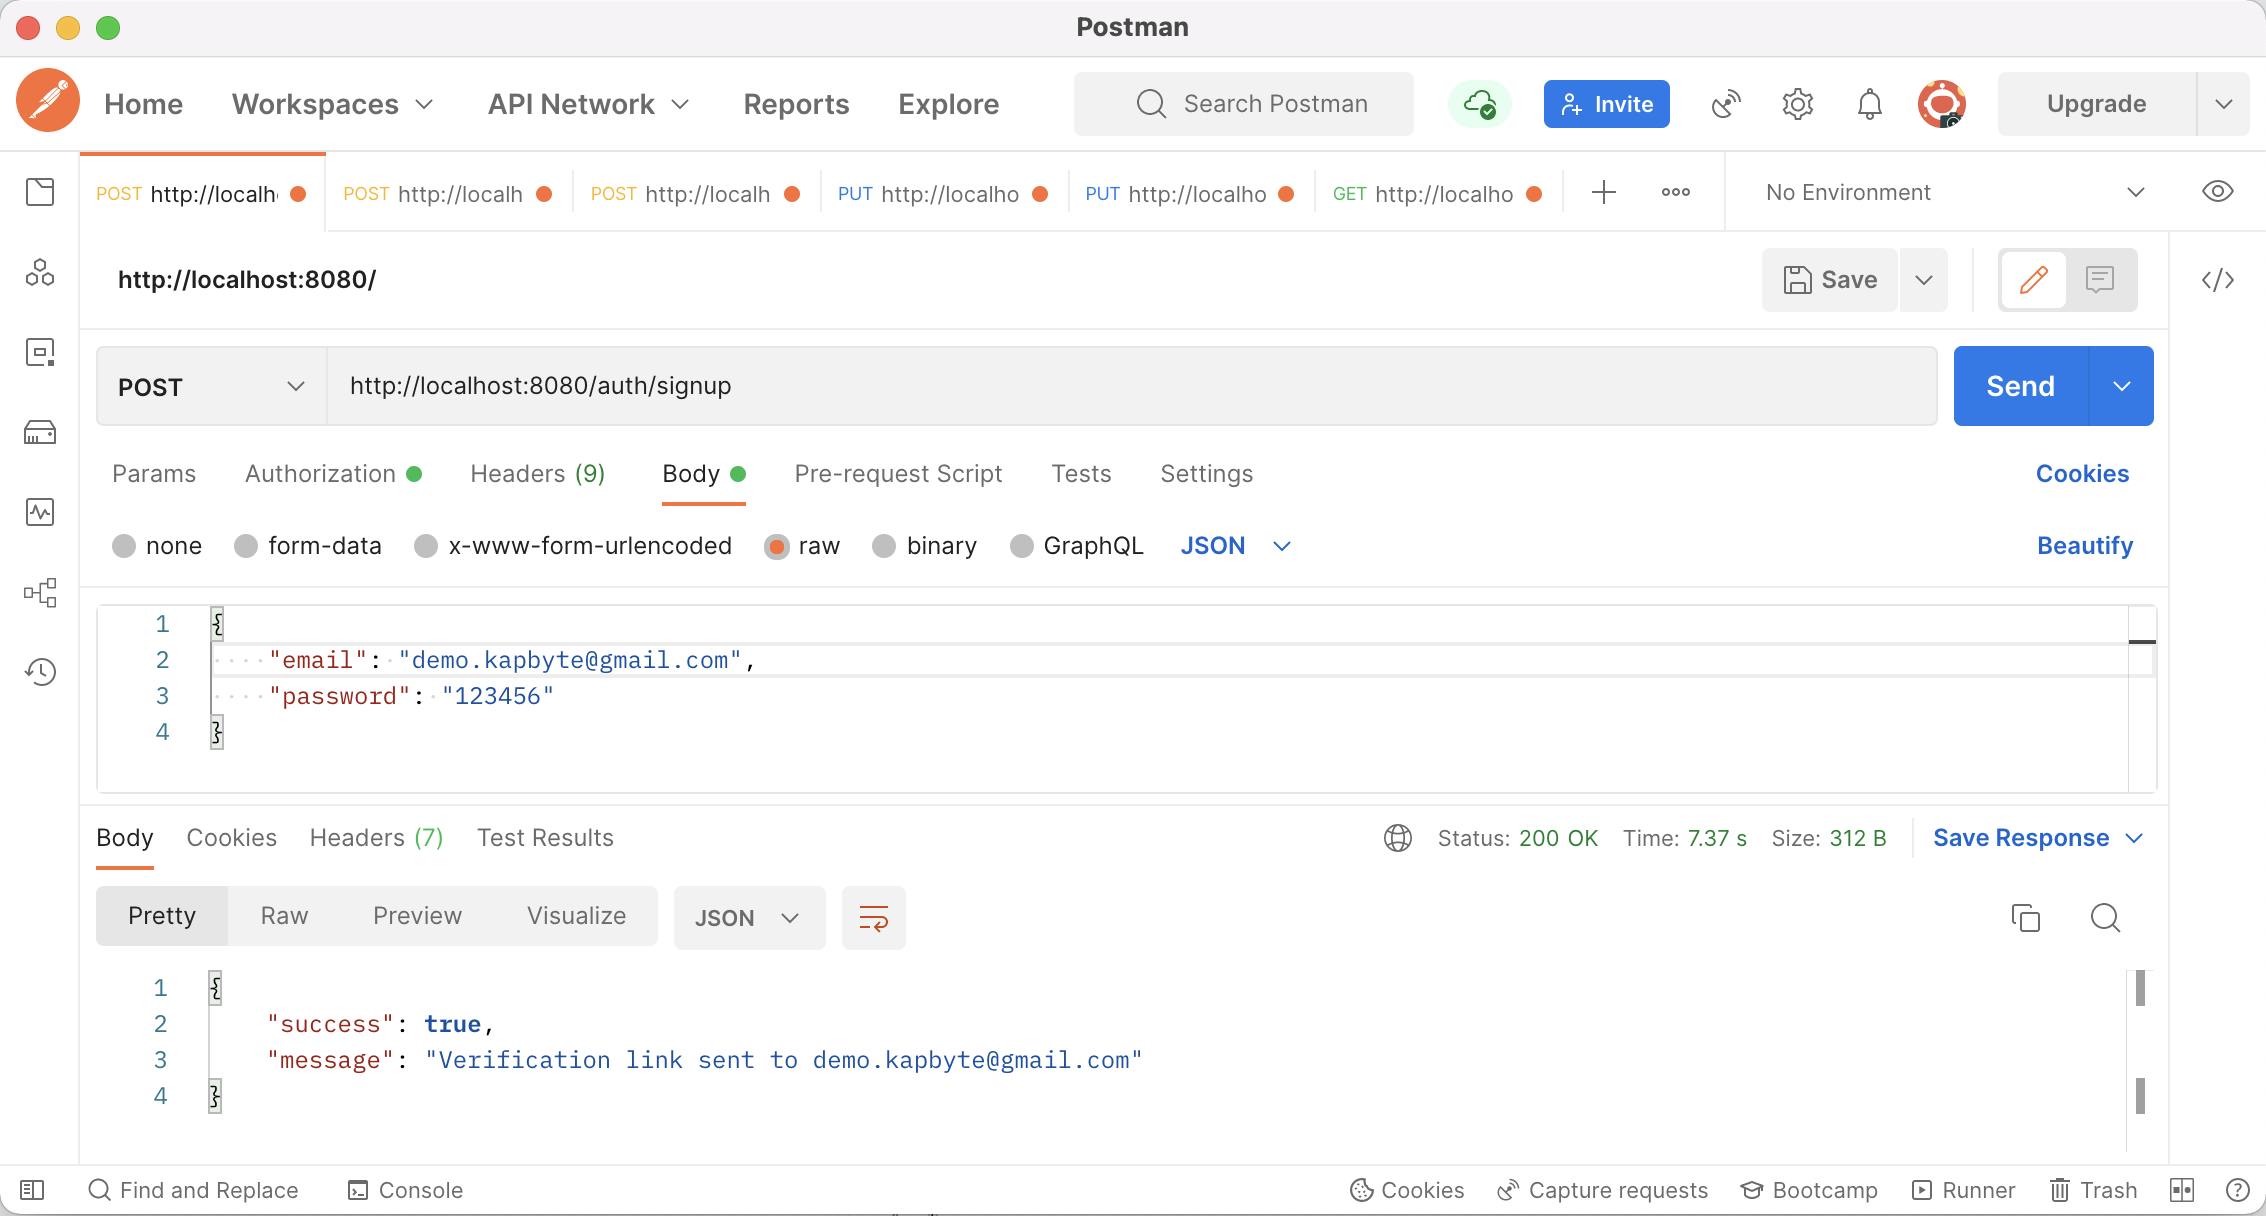
Now we've successfully created an endpoint to send a signup verification token to a new user when they try to create an account on our application. In Part 2 of this series, we'll learn to create an API to verify that link(token), and also implement other API endpoints as stated in Step 3.